First Sketch: simple_logging.ino
Overview
Teaching: 30 min
Exercises: 30 minQuestions
How do I run multiple sensors and log to an SD card?
Objectives
Run
simple_logging.inoto collect data from the Mayfly data logger’s built-in sensors.Modify
simple_logging.inoto also collect data from a DS18 submersible temperature sensor and/or a BME280 air temperature, humidity and barometric pressure sensor.
Episode 10: Your first Modular Sensors sketch
Prerequisites
- Complete all prior episodes.
- For this episode, you’ll need an EnviroDIY Mayfly Data Logger Board, a micro-USB cable rated for data, a CR1220 Lithium Coin Cell 3V Battery, and the following accessories:
- a DS18B20 Waterproof Digital Temperature sensor and 4.7kΩ resistor,
- two Grove screw terminals and included Grove cables,
- a Grove BME280 Temperature, Pressure, and Humidity sensor,
- an I2C OLED display with Grove connector (optional), and
- a Grove I2C hub (if you use the OLED display).
Collect data from the Mayfly data logger’s built-in sensors
First we will use simple_logging.ino to collect data from the Mayfly data logger’s built-in sensors.
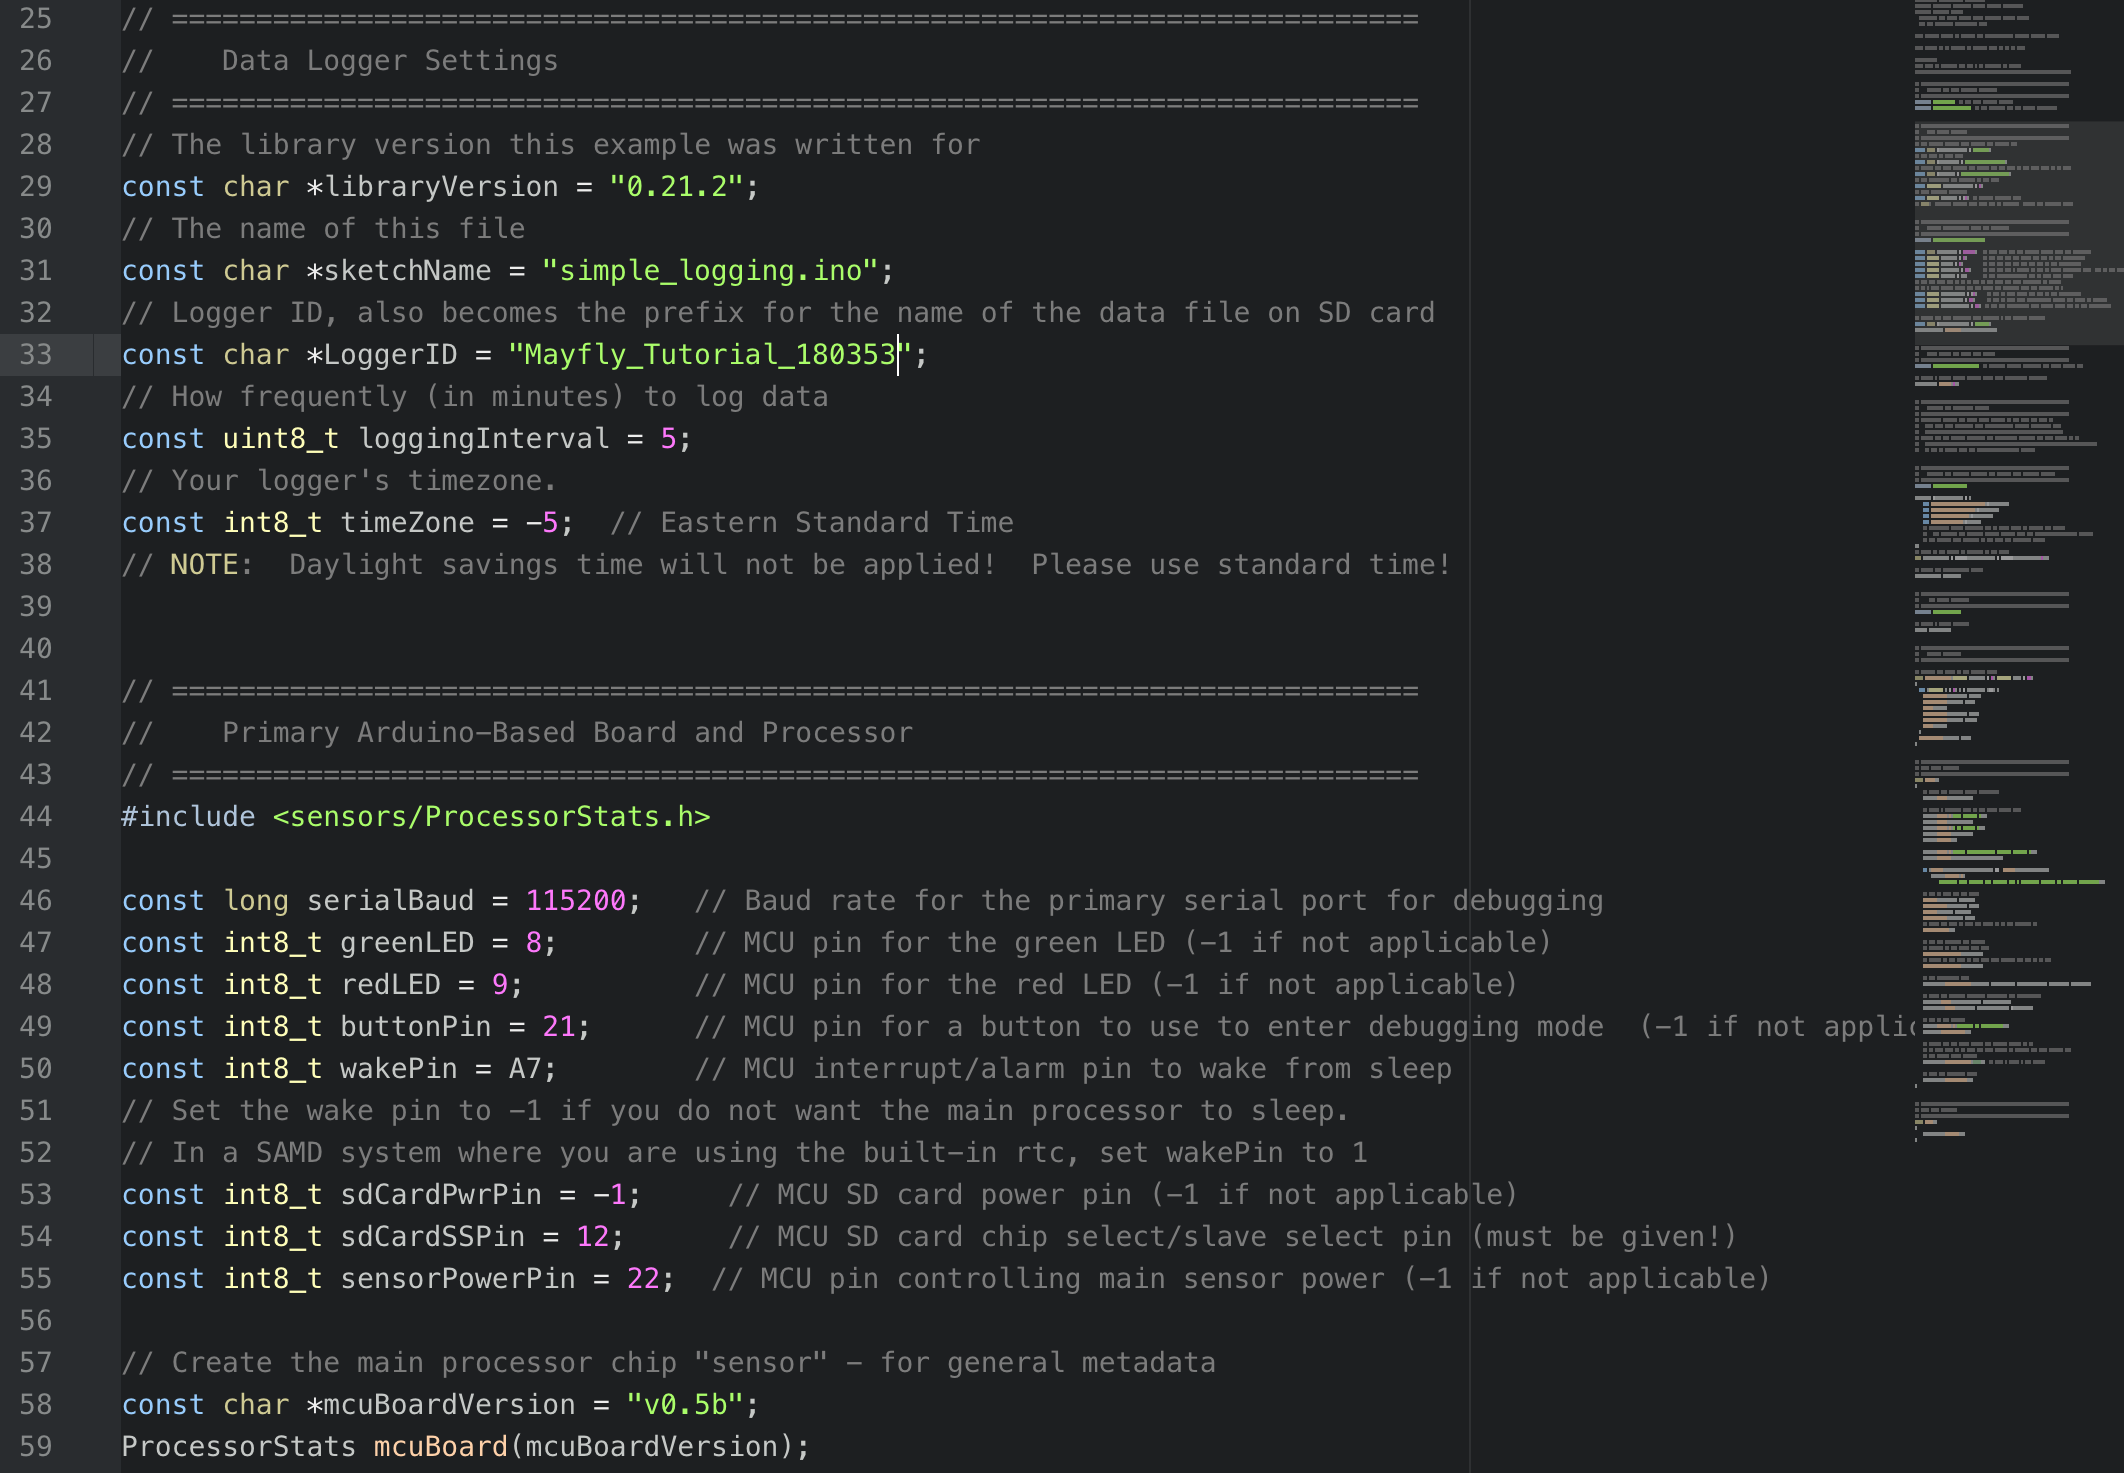
- Set up your logger and board settings to give your logger a name, set your time zone, logging interval, and confirm the version of your Mayfly. You may select a short logging interval (1-2 minutes) so we can see what’s happening on our board, but we will also use sensor testing mode, which does not wait for logging intervals.

- Set up the
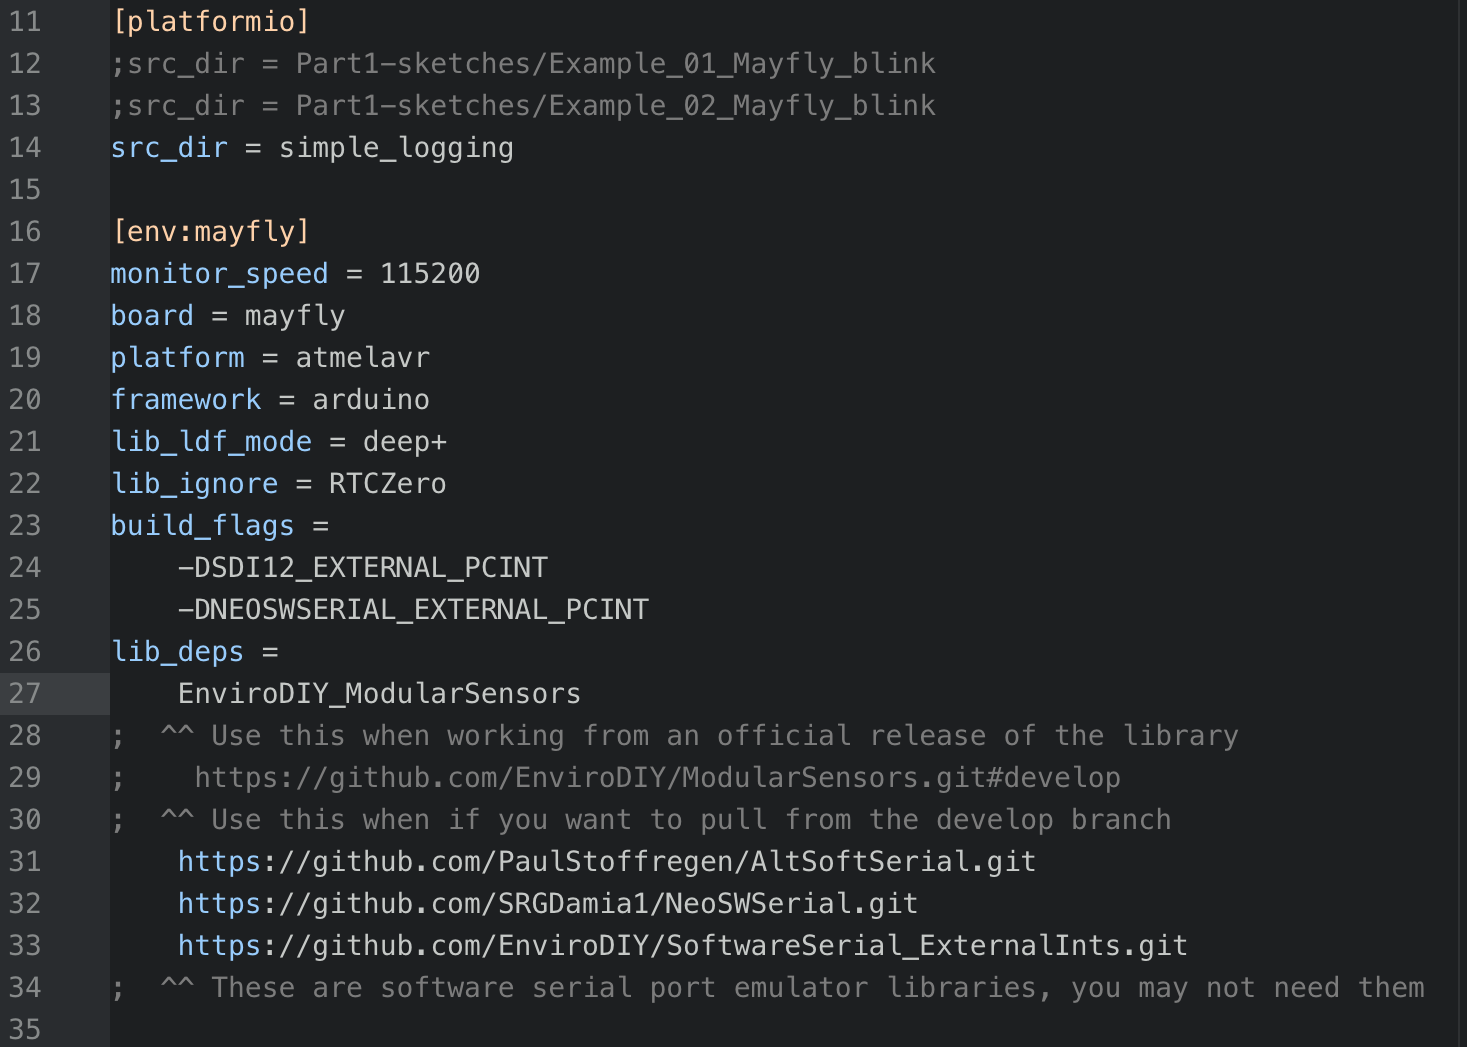
platformio.inifile in the root directory of your repository (you may need to copy one from LearnEnviroDIYcode). Save the .ini file.

- Build/compile and upload your sketch.
- View your logger output using the serial monitor (note:
serialBaud = 115200).- After the logger is set up, you can push the round, black button near the SD card on the Mayfly to enter sensor testing mode.
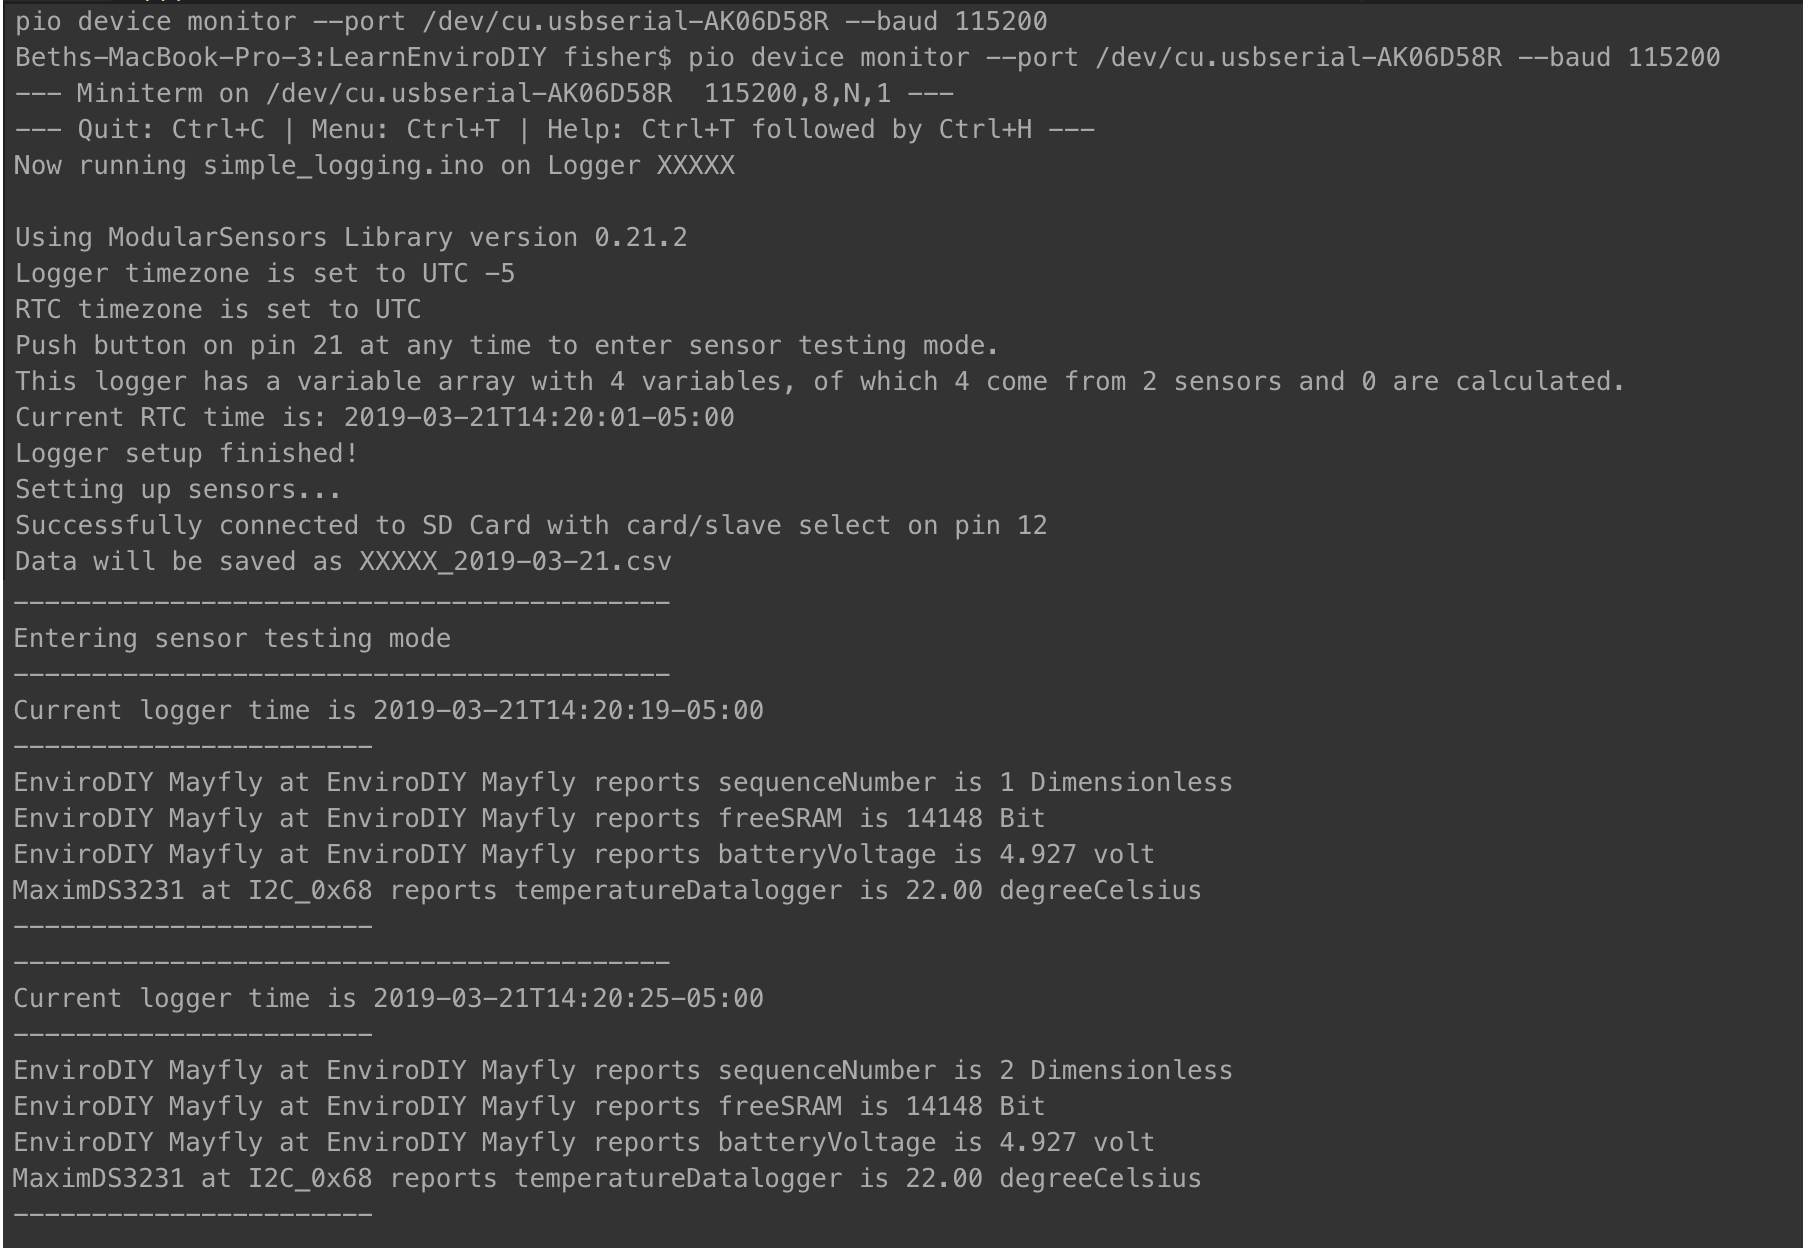
- In sensor testing mode, this sketch will display the RAM, voltage, and temperature of the Mayfly logger as shown:

Congratulations you successfully set up your first Modular Sensors sketch!
Modify simple_logging to also collect data from external sensors
Now we will modify your existing simple_logging.ino to add the Maxim DS18 submersible temperature sensor.
- Connect the DS18 sensor to the digital pin of your choice (D5, D7, or D11) following our example in Episode 6.
- Refer to the code snippet below, taken from
menu_a_la_carte.inoto set up the DS18 sensor (you may copy and paste the snippet from your web browser). We do not know the sensor address, so we will use the options for a sensor with unknown address by commenting out the lines with the address, and commenting in the single sensor lines as shown in the snippet below. Assign the pin to match the pin you chose in step 1 (called OneWireBus).
  // ==========================================================================
  //    Maxim DS18 One Wire Temperature Sensor
  // ==========================================================================
  #include <sensors/MaximDS18.h>

  // OneWire Address [array of 8 hex characters]
  // If only using a single sensor on the OneWire bus, you may omit the address
  // DeviceAddress OneWireAddress1 = {0x28, 0xFF, 0xBD, 0xBA, 0x81, 0x16, 0x03, 0x0C};
  const int8_t OneWirePower = sensorPowerPin;  // Pin to switch power on and off (-1 if unconnected)
  const int8_t OneWireBus = 7;  // Pin attached to the OneWire Bus (-1 if unconnected) (D24 = A0)

  // Create a Maxim DS18 sensor objects (use this form for a known address)
  // MaximDS18 ds18(OneWireAddress1, OneWirePower, OneWireBus);

  // Create a Maxim DS18 sensor object (use this form for a single sensor on bus with an unknown address)
  MaximDS18 ds18(OneWirePower, OneWireBus);
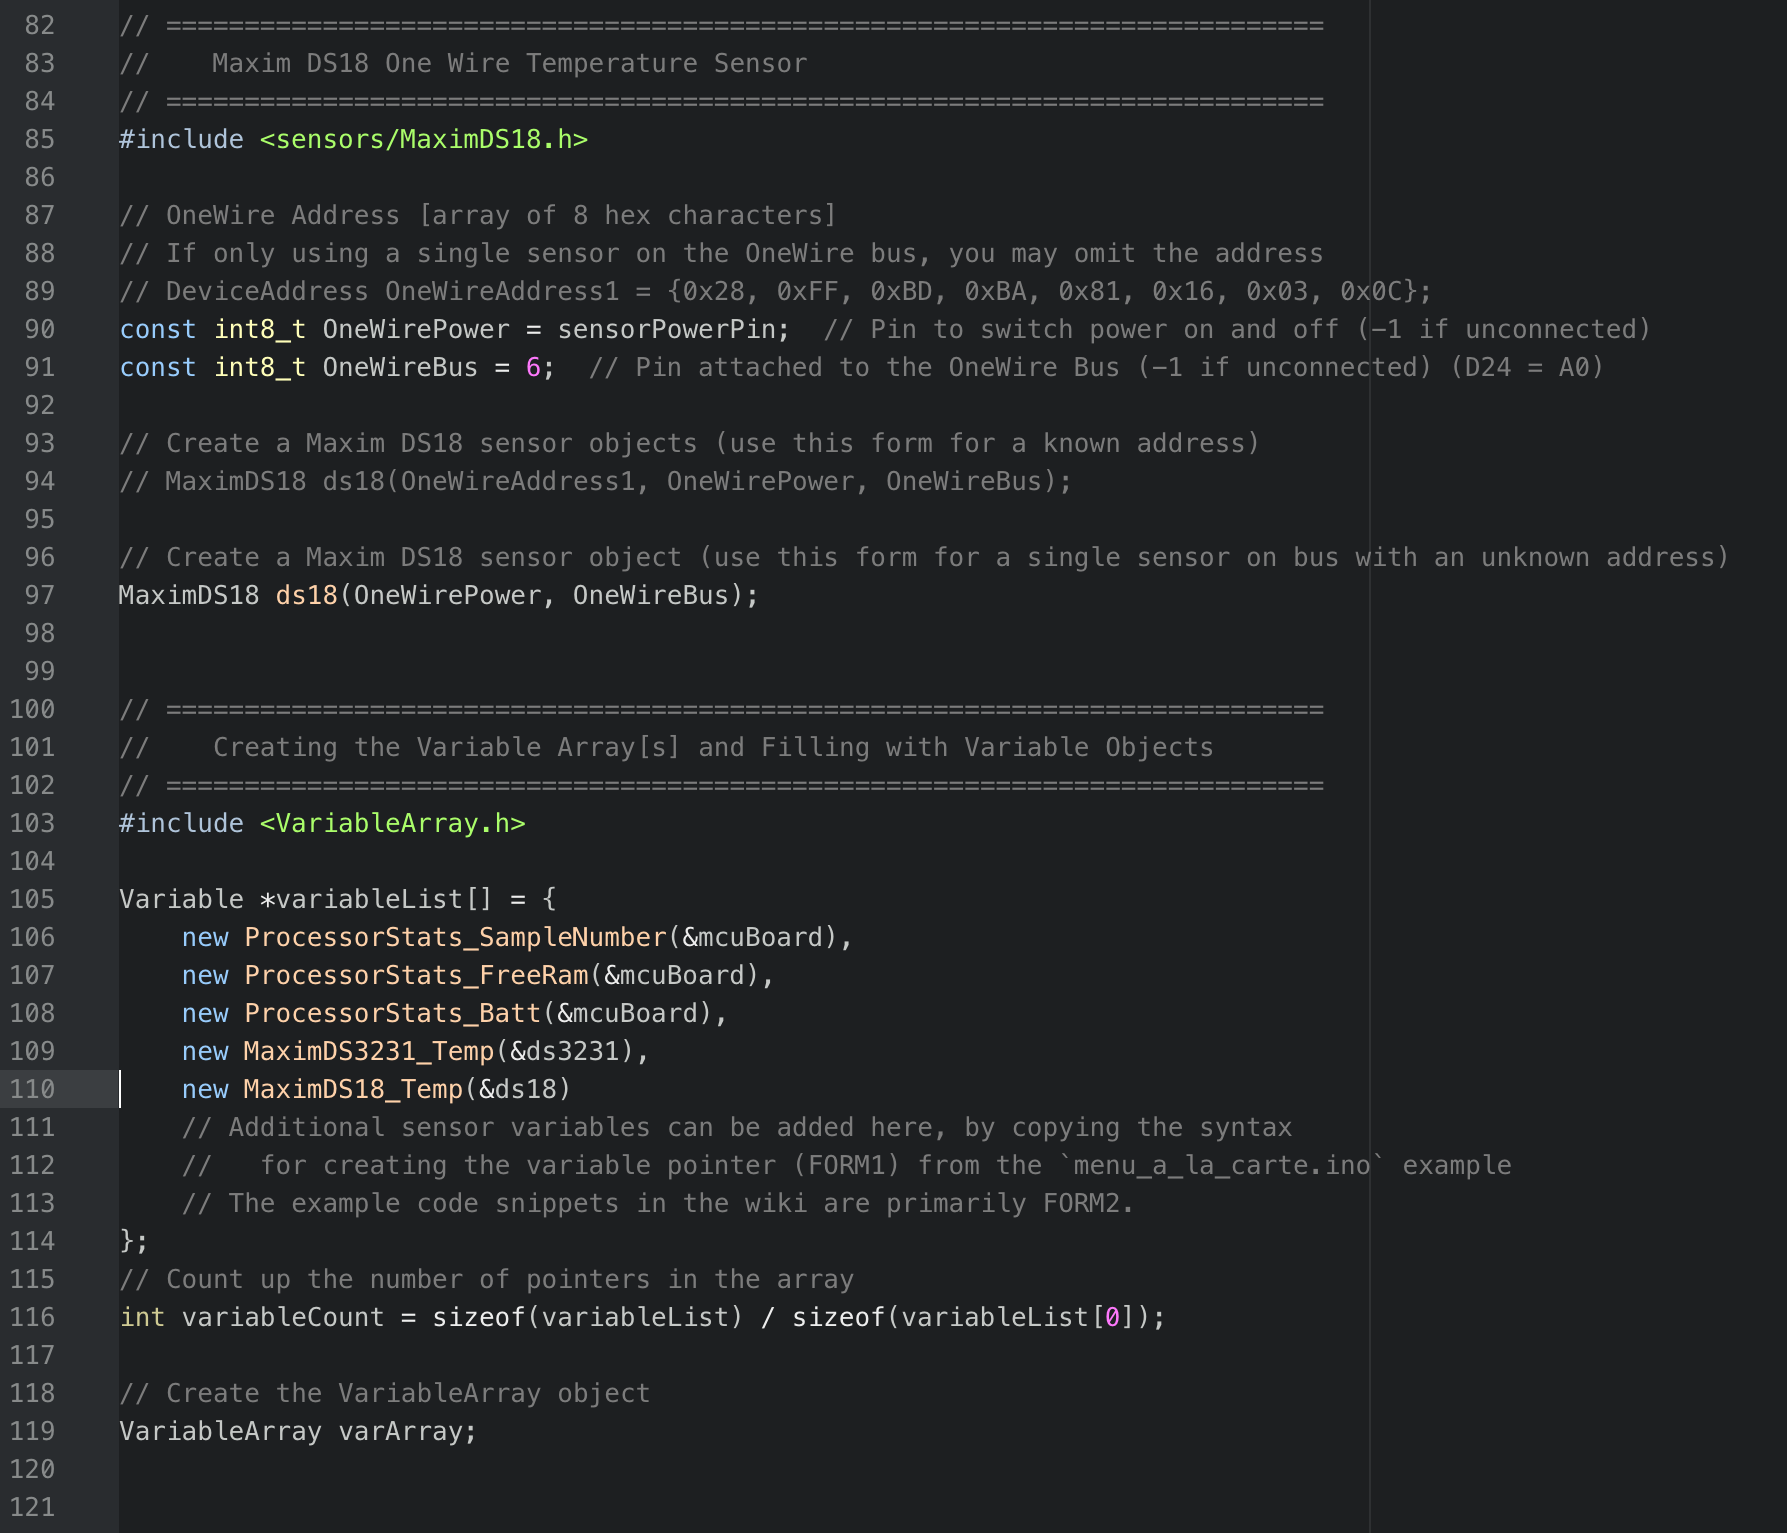
- Be sure to add this sensor to the Variable Array as well:
new MaximDS18_Temp(&ds18),, as shown in the screenshot below. - These two code snippets are the only code we need to add to run the DS18.

- Note that some sensors will require you to initiate serial ports to run them (modbus and sonar are supported examples of this), so you will have to add additional code snippets for these sensors, but most sensors only have two snippets: the main sensor block and the variable array snippet.
- Save the sketch, compile/build, upload, open the serial monitor, and enter sensor testing mode as soon as you the program will allow.
- As you watch the sensor test, notice that Modular Sensors not only figured out how to communicate with your OneWire sensor with unknown address, it found the address for you! As you may have noticed in the sensor code for the DS18, in order to run multiple instances of this sensor, you need to call each sensor using its address. There are sketches buried deep in the *.piolibdeps folder that will help you find this address, but you can also use the unknown address option in Modular Sensors to find your sensor’s address.
Solution
A working version of
simple_logging.inowith two external sensors, including the DS18, is among the examples in the Modular Sensors library.
In our next few episodes, we will set up the EnviroDIY/Monitor My Watershed data portal to receive your data. Then we will use a sketch that expands the format of simple_logging.ino to send data to the portal.
Key Points
Simple logging is a good way to test and deploy sensors and log to an SD card.